The best Genshin Impact Sangonomiya Kokomi build
Learn how to put together the best possible Sangonomiya Kokomi build in Genshin Impact
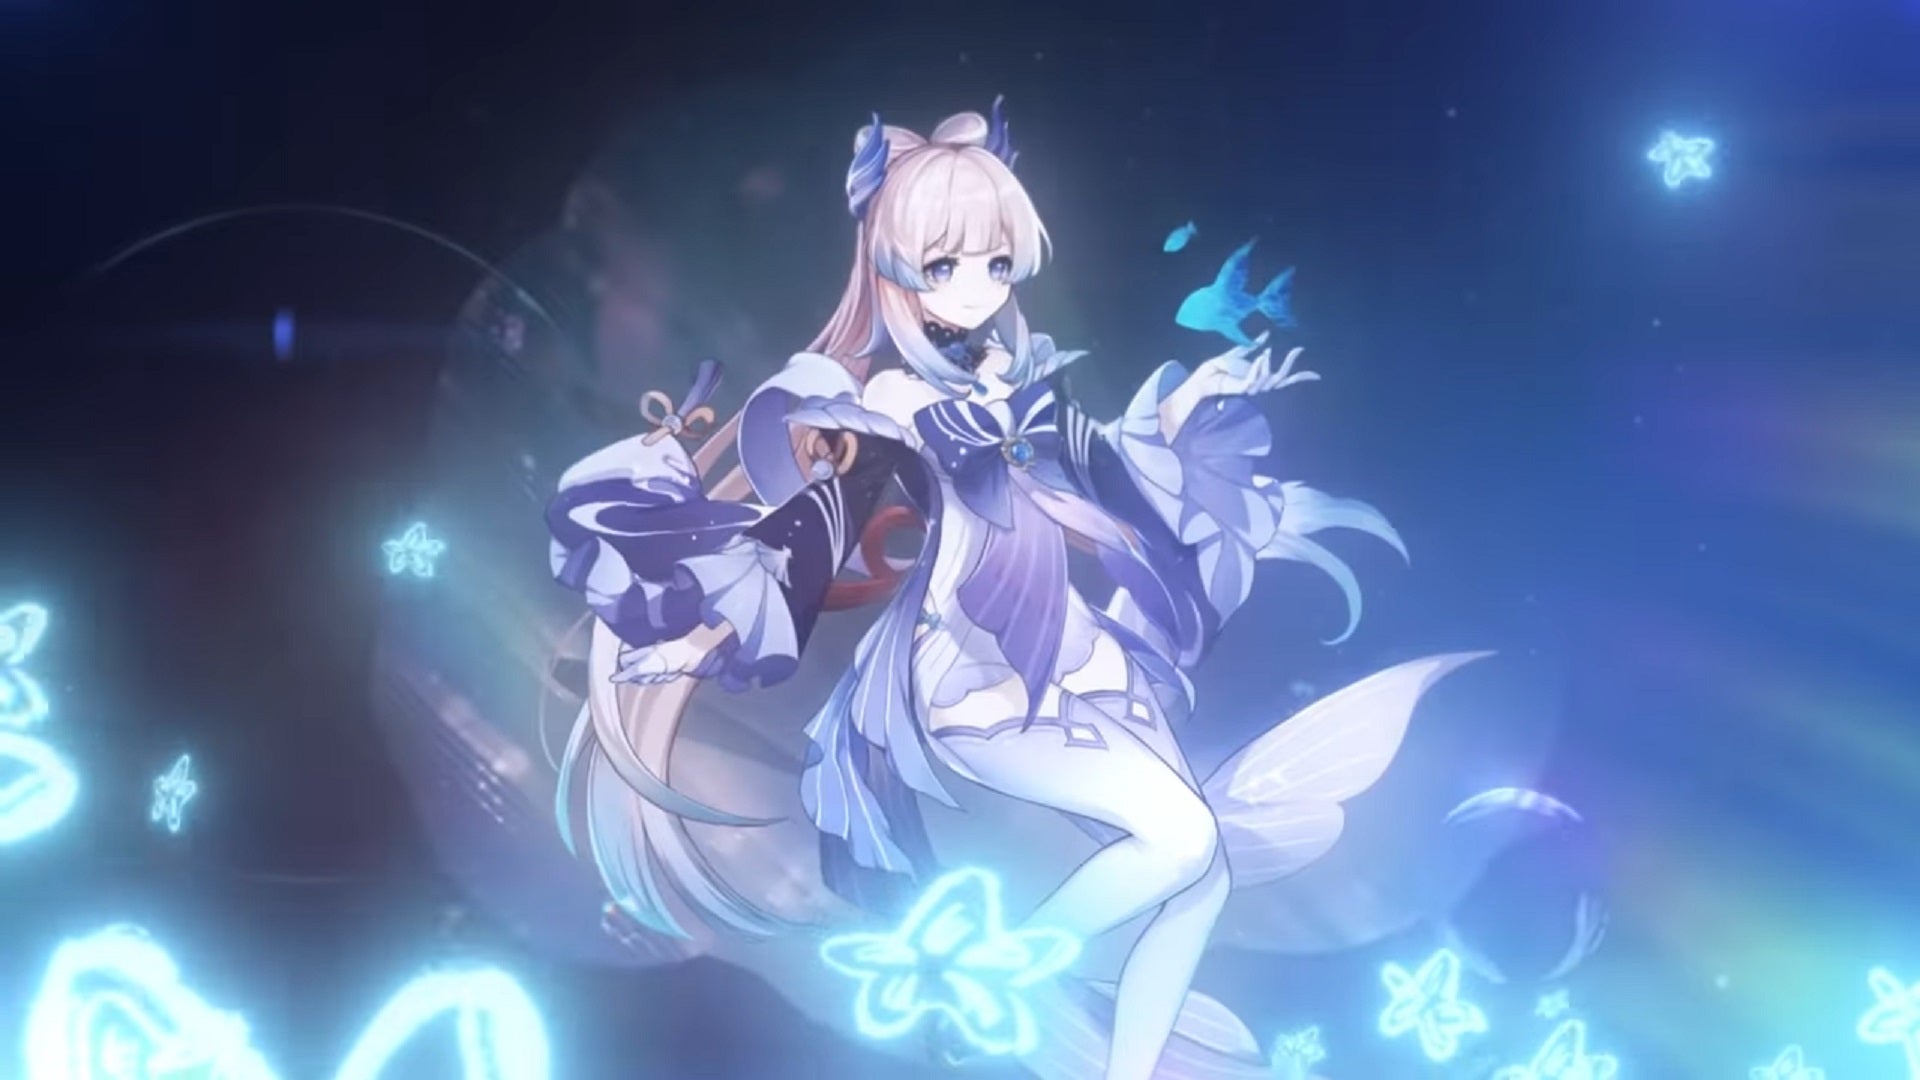
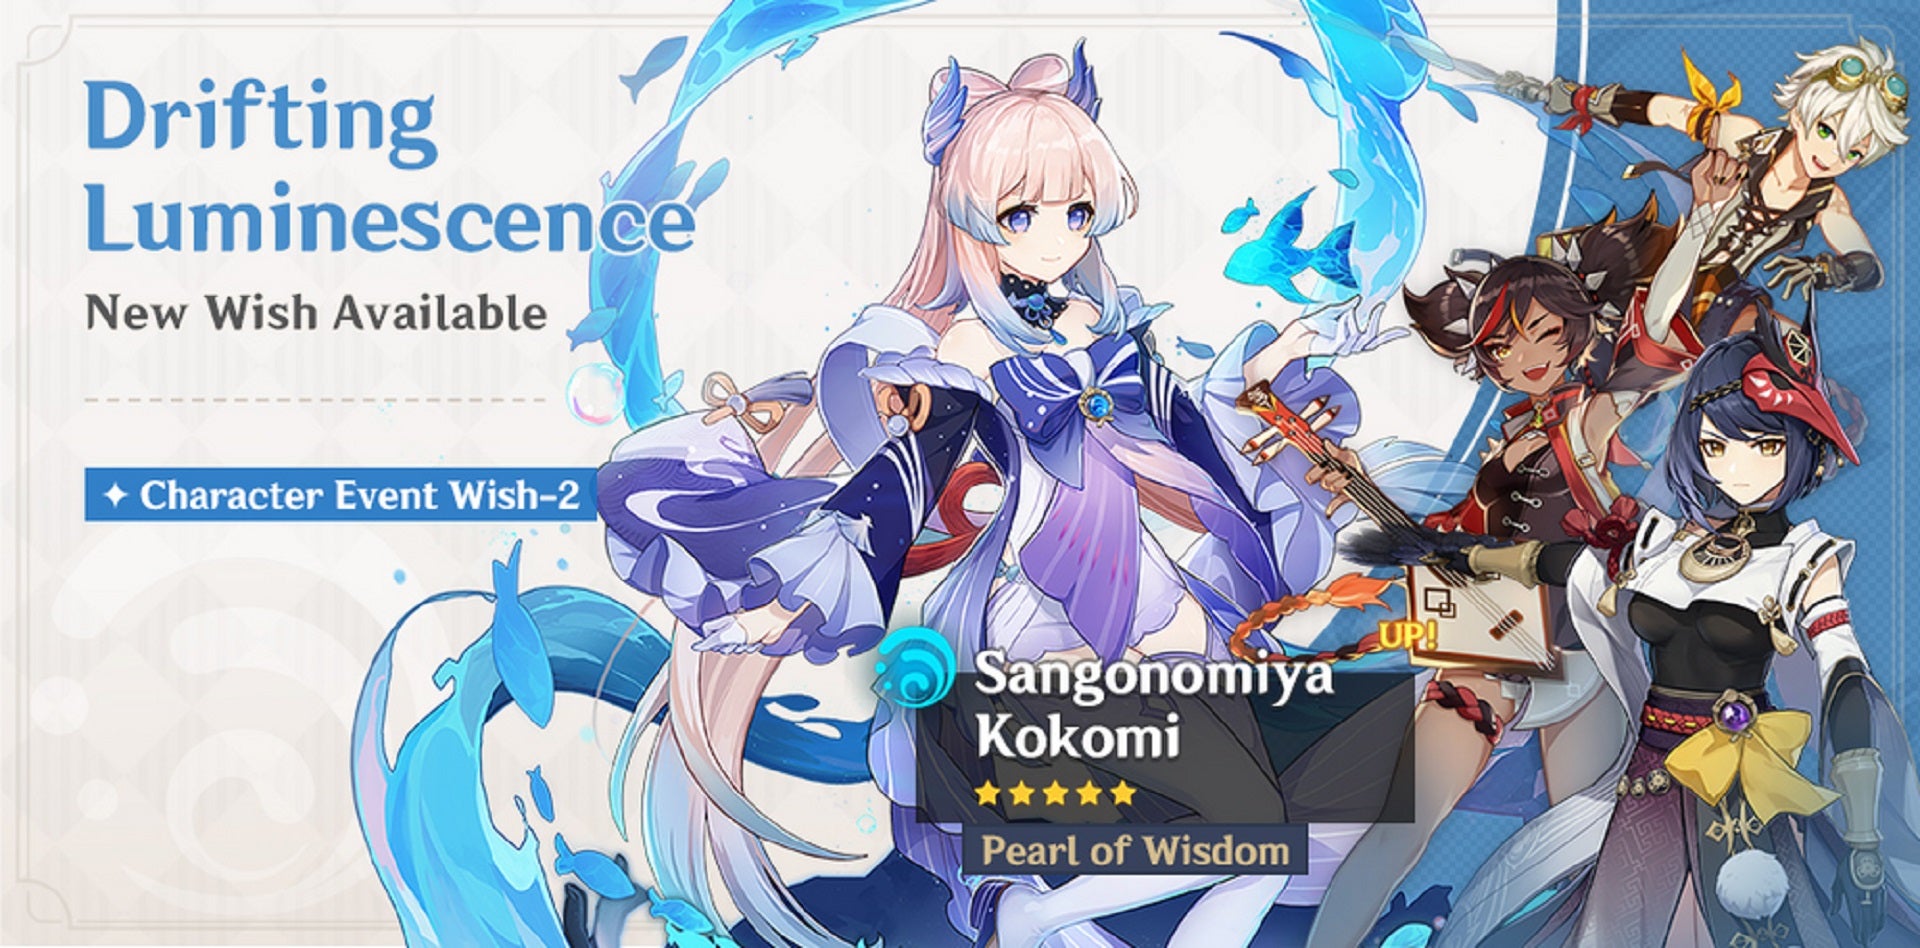
Want to learn how to create the best build for Sangonomiya Kokomi in Genshin Impact? Kokomi has been present in Genshin Impact since August 2021's V2.0 update as an NPC, but a playable version of the character is now available whenever the Drifting Luminescence Character Event Wish is live.
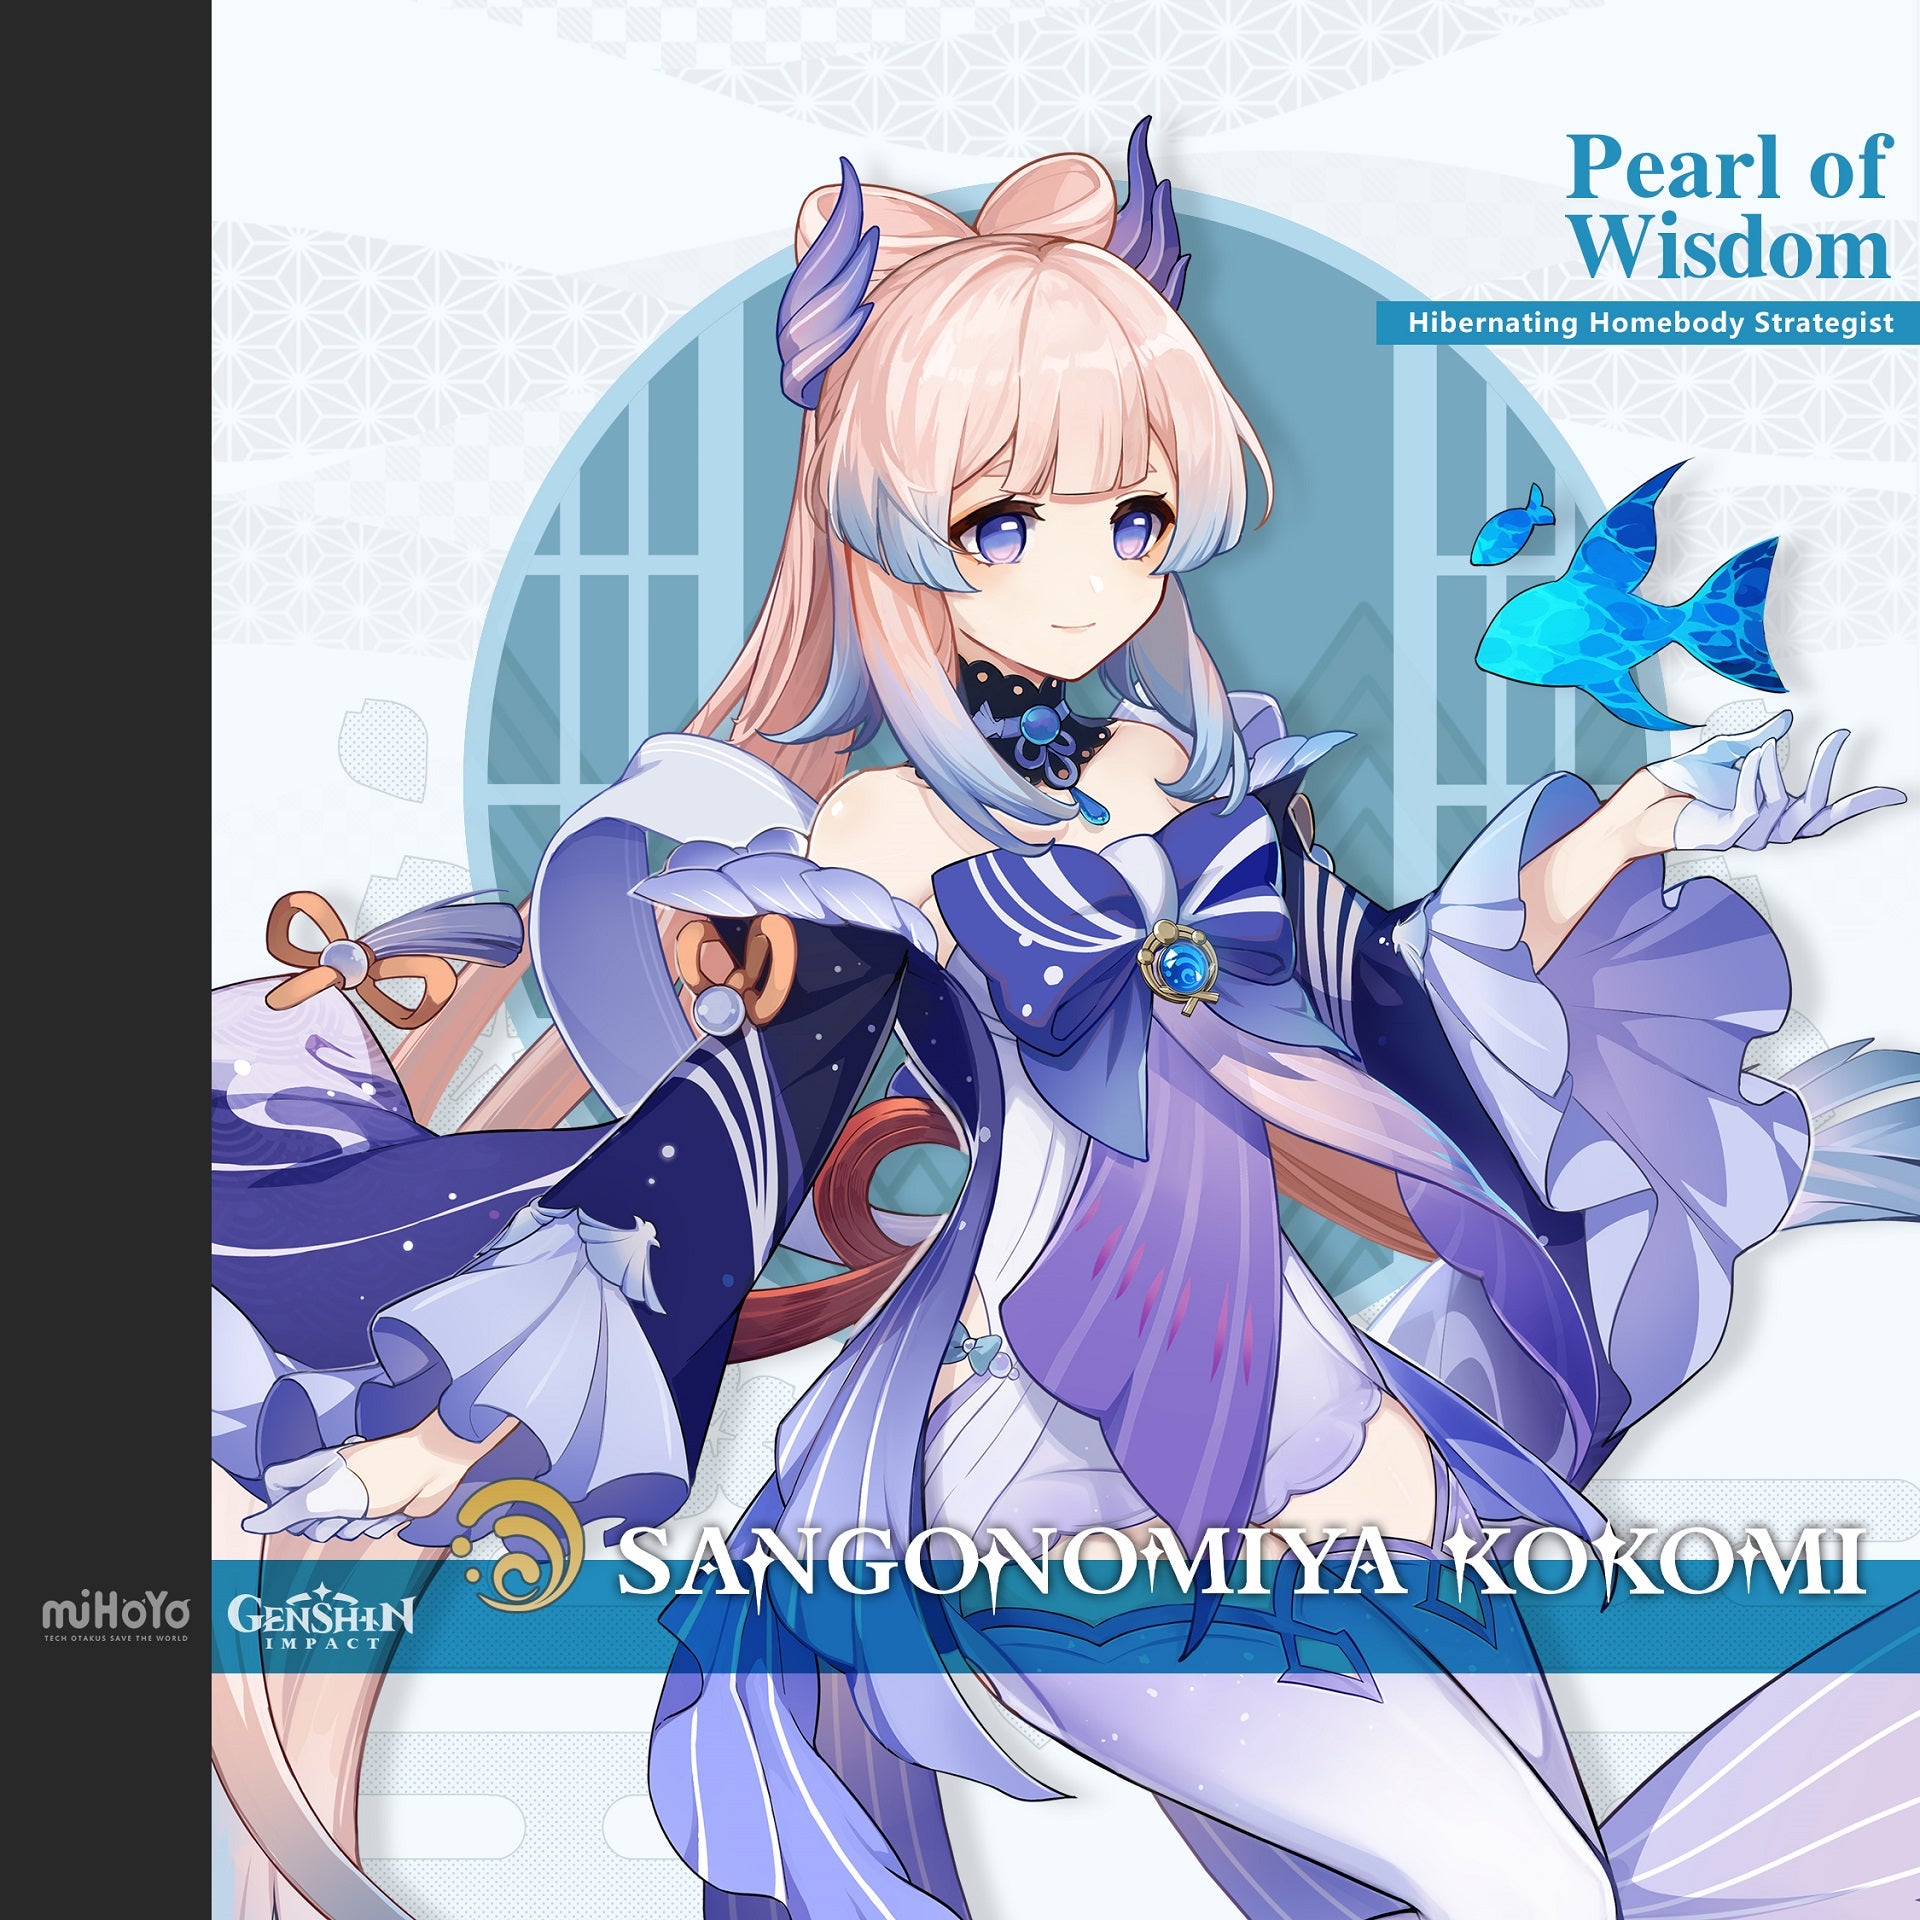
Sangonomiya Kokomi is the leader of the Sangonomiya Resistance, a group opposed to the decrees of the Raiden Shogun in her capacity as Archon of Inazuma. Given that Kokomi is pretty much a mermaid, she's unsurprisingly a Hydro Catalyst wielder. While her kit renders her largey unsuitable for DPS roles, she does stand out as Genshin Impact's premium healer, being the only 5-star character to date build around that particular role. Like her nemesis, Kokomi is a limited-time character, so read on below for information about how to get her while you can and what builds work best for her once you have her in your party.
How to build Sangonomiya Kokomi as a healer in Genshin Impact
Best weapon: Everlasting Moonglow
Alternative: Prototype Amber
Kokomi's canonical weapon is Everlasting Moonglow, and while some Genshin Impact characters can benefit from a better loadout than the one they're shown with, in this case the official art really is pointing you in the right direction. Kokomi is strongest when playing healer but can act as a supporting DPS in a pinch, and this Catalyst gives her the best of both worlds. With the Everlasting Moonglow equipped her Healing bonus is increased by a minimum of 10%, her Normal Attack power is increased, and performing Normal Attacks also restores a bit of her energy.
However, in the event that you don't have an Everlasting Moonglow in hand yet, the Prototype Amber is a good second choice while you wait to pull one. With this Catalyst equipped, Kokomi's Elemental Burst restores both her own energy and the HP of all her party members for its duration.
Best artifacts: Maiden Beloved
Alternative: 2 pieces each from Maiden Beloved and Heart of Depths
Since Kokomi is well-placed to act primarily as the party healer and secondarily as a supporting damage-dealer, mixing and matching her Artifacts to support this build is one way to go. Equipping any two items from the Maiden Beloved set increases her capacity to heal other characters by 15%, and pairing this with two pieces from the Heart of Depth set adds a 15% Hydro DMG bonus to her attacks.
Of course, you don't have to split Kokomi's focus like this. If you want her to act just as healer, go all in on the relevant artifact set. The four-piece bonus for Maiden Beloved adds a further 20% healing bonus that increases HP across the party for 10 seconds after Kokomi casts an Elemental Talent. (If you decide to go in the other direction, the Heart of Depths four-piece bonus is less spectacular, but the 30% DMG increase it grants on Normal and Charged attacks in the 15 seconds following Kokomi's use of her Elemental Skill is nothing to turn your nose up at if you're building her up as a fighter.)
To make the most of Kokomi's healing powers and her Hydro DMG bonus, focus on the following stats and substats on her artifacts:
- Circlet of Logos: Healing Bonus
- Sands of Eon: HP
- Goblet of Eonothem: HP
- Substats: Hydro DMG Bonus and HP
Talent priority: Nereid's Ascension (Elemental Burst)
Secondary: Kurage's Oath (Elemental Skill)
Whether you're playing Kokomi as a healer, a supporting fighter, or a bit of both, her Elemental Burst Nereid's Ascension is easily her most powerful Talent, and should be the focal point of her build. Second in the priority order should be her Elemental Skill Kurage's Oath, particularly if you're focusing on her healing qualities.
What follows is a full list of Sangonomiya Kokomi's Talents:
- Normal Attack: The Shape of Water
- Normal Attack - Kokomi performs up to 3 consecutive attacks that take the form of swimming fish, dealing Hydro DMG.
- Charged Attack - Kokomi consumes a certain amount of her Stamina to deal AoE Hydro DMG after a short casting time.
- Plunging Attack - Gathering the might of Hydro, Kokomi plunges towards the ground from mid-air, damaging all opponents in her path. Deals AoE Hydro DMG upon impact with the ground.
- Elemental Skill: Kurage's Oath - Kokomi summons a "Bake-Kurage" created from water that can heal her allies. Bake-Kurage deals Hydro DMG to surrounding opponents and heals nearby active characters at fixed intervals. This healing is based on Kokomi's Max HP. Using this skill will apply the Wet status to Kokomi.
- Elemental Burst: Nereid's Ascension - Kokomi summons the might of Watatsumi to deal Hydro DMG to surrounding enemies, before robing herself in a Ceremonial Garment made from the flowing waters of Sangonomiya. The Ceremonial Garment increases Kokomi's Normal Attack, Charged Attack, and Bake-Kurage DMG based on her Max HP. When her Normal and Charged Attacks hit opponents, Kokomi will restore HP for all nearby party members, with the amount restored once again based on her Max HP. It also increases Kokomi's resistance to interruption and allows her to move on the water's surface. These effects will be cleared once Sangonomiya Kokomi leaves the field.
- 1st Ascension Passive: Tamanooya's Casket - If Kokomi's own Bake-Kurage are on the field when she uses Nereid's Ascension, the Bake-Kurage’s duration will be refreshed.
- 4th Ascension Passive: Song of Pearls - While donning the Ceremonial Garment created by Nereid's Ascension, Kokomi's Normal and Charged Attack DMG bonus will receive a further increase based on 15% of her Healing bonus.
- Combat Passive: Flawless Strategy - Kokomi obtains a 25% Healing bonus, but her Crit Rate decreases by 100%.
- Utility Passive: Princess of Watatsumi - Decreases swimming Stamina consumption for your own party members by 20%. (Not stackable with other Passive Talents that provide the exact same effect.)
Party composition
- DPS: Kaeya
- Sub DPS Beidou
- Support: Sucrose
- Healer: Sangonomiya Kokomi
5-star alternative: Ganyu replacing Kaeya as DPS
Healers like Kokomi are valuable no matter what your exact party set-up, and this is just one of many teams we could recommend for her. While in this composition Kokomi will be primarily on healing support duties, her Hydro elemental attacks will come in handy for triggering a number of reactions with her teammates' elements.
Pairing Kokomi with a Cryo DPS allows them to combine their elements at will for the Frozen resonance, one of the most powerful reactions in the game, which completely disables an enemy's movements for a period of time. Starting character Kaeya is my personal choice for a 4-star Cryo DPS, but if you have a 5-star alternative like Ganyu (or Eula or Ayaka... basically, you're spoiled for choice if you want a 5-star Cryo DPS, but Ganyu is the stand-out among a good selection) then feel free to sub in the best you have on your roster. Aiding with this will be an Anemo support character like Sucrose, who can use Swirl and spread the Frozen effect across a wider area to catch more enemies at once.
Because Electro reacts powerfully with both Hydro and Cryo for extra damage and can also spread with the Anemo Swirl, I recommend rounding out this team with a Electro sub DPS. Beidou is a good choice, as an easy-to-obtain 4-star character who's nevertheless powerful, and her kit allows her to specialise in either sub- or joint-DPS duties, depending on who exactly you pair her with as the team's main damage dealer.
How to level up Sangonomiya Kokomi in Genshin Impact
Ascension Materials
To fully ascend Sangonomiya Kokomi you will need the following materials:
| Ascension Level | Materials |
|---|---|
| 1 | 1 Varunada Lazarite Sliver, 3 Sango Pearls, 3 Spectral Husks, and 20,000 Mora |
| 2 | 3 Varunada Lazarite Fragments, 2 Dews of Repudiation, 10 Sango Pearls, 15 Spectral Husks, and 40,000 Mora |
| 3 | 6 Varunada Lazarite Fragments, 4 Dews of Repudiation, 20 Sango Pearls, 12 Spectral Hearts, and 60,000 Mora |
| 4 | 3 Varunada Lazarite Chunks, 8 Dews of Repudiation, 30 Sango Pearls, 18 Spectral Hearts, and 80,000 Mora |
| 5 | 6 Varunada Lazarite Chunks, 12 Dews of Repudiation, 45 Sango Pearls, 12 Spectral Nuclei, and 100,000 Mora |
| 6 | 6 Varunada Lazarite Gemstones, 20 Dews of Repudiation, 60 Sango Pearls, 24 Spectral Nuclei, and 120,000 Mora |
| Total | 168 Sango Pearls, 46 Dew of Repudiation, 40 Spectral Nuclei, 30 Spectral Hearts, 18 Spectral Husks, 9 Varunada Lazarite Chunks and 9 Varunada Lazarite Fragments, 6 Varunada Lazurite Gemstones, 1 Varunada Lazarite Sliver, and 420,000 Mora |
The only particularly obscure item on this list is Sango Pearl, a resource which can only be collected from the coastal areas of Kokomi's native Watatsumi Island. Farming these can be a bit of a chore thanks to the relative scarcity of spawn locations and the 48-hour real-time respawn, but fortunately other than Kokomi it's only used in one other character's ascensions so far, so at least you won't have too many conflicts when deciding what to use your precious collection for.
Talents
In order to fully level up (or "crown") any one of Kokomi's talents, you'll need to gather together the following materials:
| Talent Level (+ required Ascension Level) | Materials |
|---|---|
| 2 (2) | 6 Spectral Husks, 3 Teachings of Transience, and 12,500 Mora |
| 3 (3) | 3 Spectral Hearts, 2 Guides to Transience, and 17,500 Mora |
| 4 (3) | 4 Spectral Hearts, 4 Guides to Transience, and 25,000 Mora |
| 5 (4) | 6 Spectral Hearts, 6 Guides to Transience, and 30,000 Mora |
| 6 (4) | 9 Spectral Hearts, 9 Guides to Transience, and 37,500 Mora |
| 7 (5) | 4 Spectral Nuclei, 4 Philosophies of Transience, 1 Hellfire Butterfly, and 120,000 Mora |
| 8 (5) | 6 Spectral Nuclei, 6 Philosophies of Transience, 1 Hellfire Butterfly, and 260,000 Mora |
| 9 (6) | 9 Spectral Nuclei, 12 Philosophies of Transience, 2 Hellfire Butterflies, and 450,000 Mora |
| 10 (6) | 12 Spectral Nuclei, 16 Philosophies of Transience, 2 Hellfire Butterflies, 1 Crown of Insight, and 700,000 Mora |
| Total | 6 Spectral Husks, 22 Spectral Hearts, 31 Spectral Nuclei, 3 Teachings of Transience, 21 Guides to Transience, 38 Philosophies of Transience, 6 Hellfire Butterflies, 1 Crown of Insight, and 1,652,500 Mora |
Note that the amounts given are per talent, so you will need to collect all of these materials multiple times if you want to crown more than one of Kokomi's talents. All Spectral materials required for Kokomi's talents and ascensions can be obtained by defeating the Specter enemies native to Inazuma. You can pick up the books required for her talents at the Violet Court domain (Wednesday/Saturday/Sunday only), while Hellfire Butterflies are exclusively picked up as rewards from completing the Signora Challenge at Level 70+. Finally, Crowns of Insight come from limited-time events or by making offerings to the Frostbearing Tree and the Sacred Sakura.
Constellations
Regardless of the build you're going for, whether it's healer or mixed-support with some DPS elements, Kokomi's Constellations will come in handy. Of course, as a 5-star event-limited character, your odds of getting her all the way to Constellation 6 are low; but if you have the resources then they do provide valuable boosts and bonuses to her Elemental Skill and Burst Talents.
Below is a full list of Kokomi's Constellations:
- At Water's Edge (Lvl 1): While donning the Ceremonial Garment created by Nereid's Ascension, the final Normal Attack in Kokomi's combo will unleash a swimming fish to deal 30% of her Max HP as Hydro DMG. (This DMG is not considered Normal Attack DMG.)
- The Clouds Like Waves Rippling (Lvl 2): Kokomi gains Healing bonuses (4.5% of her Max HP on Bake-Kurage, 0.6% of her Max HP on Nereid's Ascension Normal and Charged Attacks) when healing characters with 50% HP or less.
- The Moon, A Ship O'er the Seas (Lvl 3): Increases the level of Nereid's Ascension by 3 (maximum upgrade level is 15).
- The Moon Overlooks the Waters (Lvl 4): While donning the Ceremonial Garment created by Nereid's Ascension, Kokomi's Normal Attack speed is increased by 10%, and Normal Attacks that hit opponents will restore 0.8 Energy for her. This effect can occur five times per second.
- All Streams Flow to the Sea (Lvl 5): Increases the level of Kurage's Oath by 3 (maximum upgrade level is 15).
- Sango Isshin (Lvl 6): While donning the Ceremonial Garment created by Nereid's Ascension, Sangonomiya Kokomi gains a 40% Hydro DMG bonus for 4 seconds after her Normal and Charged Attacks heal a character with 80% or more HP.
How to get Sangonomiya Kokomi in Genshin Impact
Sangonomiya Kokomi is an event-exclusive character, meaning she's only available during re-runs of her banner Drifting Luminescence. Following her second rerun of 2022, which ended in late September, she's once again unavailable for the time being. It's unlikely we'll see her again this year, but you're almost certainly going to get the chance to wish for her again in 2023.
That's everything you need to know about putting together the best build for Sangonomiya Kokomi! If you're struggling to get hold of her though, take heart: Kokomi is basically a 5-star version of Barbara, a fellow Hydro Catalyst healing specialist and one of the best 4-star characters in the game who is also, pleasing, entirely free to play once you reach Adventure Rank 18. And before you go, be sure to check out our Genshin Impact character tier list to see where your characters stand in relation to the game's best party members.
![Image for Genshin Impact tier list: best characters for Version 3.2 [November 2022]](https://assets2.rockpapershotgun.com/genshin-character-tier-list.jpg/BROK/thumbnail/275x155/format/jpg/quality/80/genshin-character-tier-list.jpg)