The best Genshin Impact Sayu build
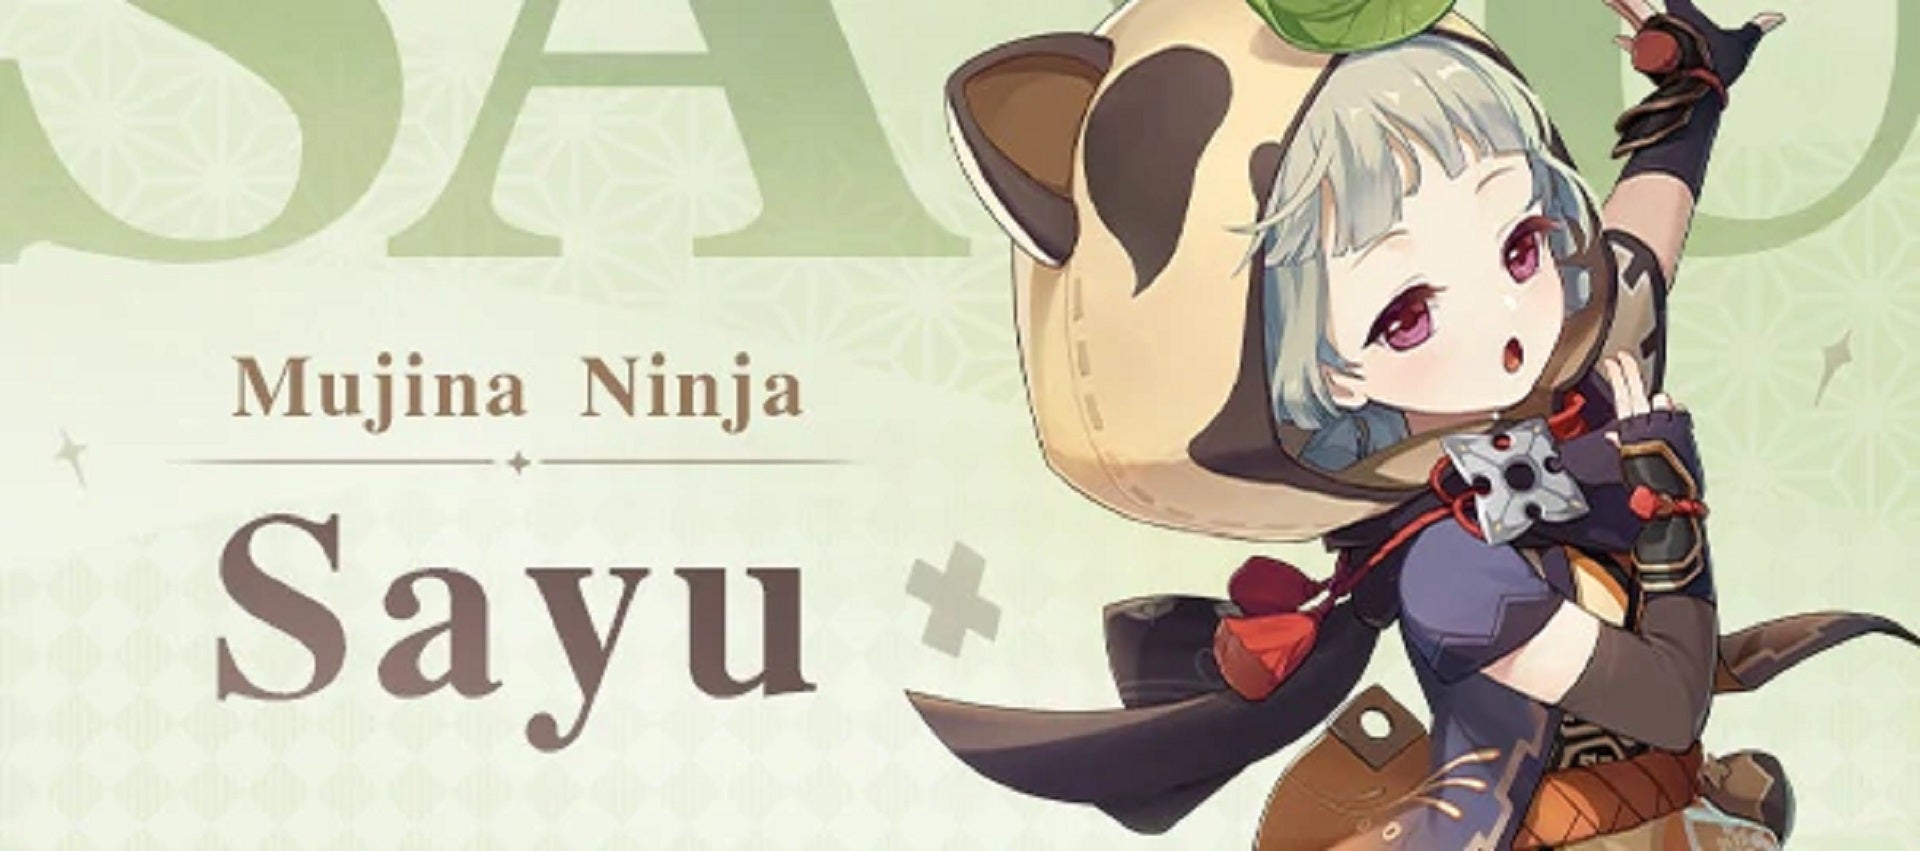
Learn how to put together the best possible Sayu buildWant to learn how to create the best Sayu build in Genshin Impact? The tiny Sayu is a ninja that tends to spend her days sleeping high up in Inazuma’s trees. Despite her laziness, she’s able to curl up into a ball and deal damage by rolling into opponents, giving her one of Genshin’s most unique movesets to date. Sayu best serves as a combination between a healer and an Anemo support character.
This guide will show you how to create the best Sayu build in Genshin Impact. Below we'll cover everything you need to know about Sayu, including wishing, weapons, artifacts, ascension materials, talents, abilities, and constellations.
How to build Sayu as a healer/Anemo support in Genshin Impact
Best weapon: Skyward Pride
Alternative: Katsuragikiri Nagamasa, Favonius Greatsword
Skyward Pride is a stellar option for Sayu as it increases DMG and adds a vacuum blade effect that deals extra DMG to opponents in its path. If you don’t have the elusive weapon, though, don’t fret! Katsuragikiri Nagamasa is also an excellent option if you’re going to use Sayu’s rolling skill, as it will boost Elemental Skill DMG. Finally, the Favonius Greatsword offers a hefty amount of Energy Recharge.
Best artifacts: Viridescent Venerer
Alternative: Maiden Beloved
We'd definitely recommend you equip Sayu with a 4-piece Viridescent Venerer set, which will drastically decrease enemies’ elemental resistance to elements swirled up in Sayu’s rolling attacks. Alternatively, if you’re going to exclusively use Sayu as a healer, which isn’t really recommended, go for a 4-piece Maiden Beloved set instead.
When selecting stats and substats to prioritize, aim for Energy Recharge and Elemental Mastery. ATK% and Healing Bonus can also be great depending on what you’re building your Sayu for. Consider the following for a decent balance:
- Circlet of Logos: Elemental Mastery or Healing Bonus
- Sands of Eon: Elemental Mastery or ATK
- Goblet of Eonothem: Elemental Mastery or Anemo DMG
- Substats: Energy Recharge or CRITs
Talent priority: Yoohoo Art - Fuuin Dash (Elemental Skill)
Secondary: Yoohoo Art - Mujina Flurry (Elemental Burst)
If you’re building your Sayu exclusively for healing, level up her Elemental Burst first. Otherwise, prioritizing her Elemental Skill and then her Burst is best, as this is where the majority of her damage will come from. In case you’re curious, here are all of Sayu’s talents:
- Shuumatsuban Ninja Blade (Normal Attack):
- Normal attack - Performs up to 4 consecutive strikes.
- Charged attack - Drains Stamina over time to perform continuous spinning attacks against all nearby opponents. At the end of the sequence, perform a more powerful slash.
- Plunging attack - Plunges from mid-air to strike the ground below, damaging opponents along the path and dealing AoE DMG upon impact.
- Yoohoo Art: Fuuin Dash (Elemental Skill) - The special technique of the Yoohoo Ninja Arts! Sayu curls up into a rolling Fuufuu Windwheel and smashes into opponents at high speed, dealing Anemo DMG. When the duration ends, she unleashes a Fuufuu Whirlwind Kick, dealing AoE Anemo DMG. Press: Enters the Fuufuu Windwheel state, rolling forward a short distance before using the Fuufuu Whirlwind Kick. Hold: Rolls about continuously in the Fuufuu Windwheel state, increasing Sayu's resistance to interruption while within that state. During this time, Sayu can control the direction of her roll, and can use the skill again to end her Windwheel state early and unleash a stronger version of the Fuufuu Whirlwind Kick. The Hold version of this skill can trigger Elemental Absorption (below). This skill has a maximum duration of 10s and enters CD once its effects end. The longer Sayu remains in her Windwheel state, the longer the CD. Elemental Absorption: If Sayu comes into contact with Hydro, Pyro, Cryo and Electro while in her Windwheel state, she will deal additional elemental DMG of that type. Elemental Absorption may only occur once per use of this skill.
- Yoohoo Art: Mujina Flurry (Elemental Burst) - The other super special technique of the Yoohoo Ninja Arts! It summons a pair of helping hands for Sayu. Deals Anemo DMG to nearby opponents and heals all nearby party members. The amount of HP restored is based on Sayu's ATK. This skill then summons a Muji-Muji Daruma. Muji-Muji Daruma: At specific intervals, the Daruma will take one of several actions based on the situation around it: If the HP of nearby characters is above 70%, it will attack a nearby opponent, dealing Anemo DMG. If there are active characters with 70% or less HP nearby, it will heal the active character with the lowest percentage HP left. If there are no opponents nearby, it will heal active characters nearby even if they have 70% HP or more.
- Someone More Capable (1st Ascension Passive) - When Sayu triggers a Swirl reaction while active, she heals all your characters and nearby allies for 300 HP. She will also heal an additional 1.2 HP for every point of Elemental Mastery she has. This effect can be triggered once every 2s.
- No Work Today! (4th Ascension Passive) - The Muji-Muji Daruma created by Yoohoo Art: Mujina Flurry gains the following effects: When healing a character, it will also heal characters near that healed character for 20% the amount of HP. Increases the AoE of its attack against opponents.
- Yoohoo Art: Silencer's Secret (Utility Passive) - When Sayu is in the party, your characters will not startle Crystalflies and certain other animals when getting near them. Check the "Other" sub-category of the "Living Beings / Wildlife" section in the Archive for creatures this skill works on.
- DPS: Kaeya
- Sub DPS: Xingqiu
- Sub DPS: Xiangling
- Healer/Anemo support: Sayu
- Multi-Task no Jutsu: Constellation Lv. 1 - The Muji-Muji Daruma created by Yoohoo Art: Mujina Flurry will ignore HP limits and can simultaneously attack nearby opponents and heal characters.
- Egress Prep: Constellation Lv. 2 - Yoohoo Art: Fuuin Dash gains the following effects: DMG of Fuufuu Whirlwind Kick in Tapping (mobile)/Press (PC & PlayStation) Mode increased by 3.3%. Every 0.5s in the Fuufuu Windwheel state will increase the DMG of this Fuufuu Whirlwind Kick by 3.3%. The maximum DMG increase possible through this method is 66%.
- Eh, the Bunshin Can Handle It: Constellation Lv. 3 - Increases the Level of Yoohoo Art: Mujina Flurry by 3. Maximum upgrade level is 15.
- Skiving: New and Improved: Constellation Lv. 4 - Sayu recovers 1.2 Energy when she triggers a Swirl reaction. This effect occurs once every 2s.
- Speed Comes First: Constellation Lv. 5 - Increases the Level of Yoohoo Art: Fuuin Dash by 3. Maximum upgrade level is 15.
- Sleep O’Clock: Constellation Lv. 6 - The Muji-Muji Daruma created by Sayu's Yoohoo Art: Mujina Flurry will now also benefit from her Elemental Mastery. Each point of Sayu's Elemental Mastery will produce the following effects: Increases the damage dealt by the Muji-Muji Daruma's attacks by 0.2% ATK. A maximum of 400% ATK can be gained via this method. Increases the HP restored by the Muji-Muji Daruma by 3. A maximum of 6,000 additional HP can be restored in this manner.
Party composition
5-star alternative: Ganyu replacing Kaeya as DPS
Anemo support characters are a desirable rarity right now in Genshin Impact, so Sayu really has her pick of teams to join. She may not be quite the 4-star Anemo support powerhouse that is Sucrose, but the fact that she can double up as the team's healer means that she still has a lot to recommend her.
Sayu's Swirl reaction allows her to effectively support any DPS whose element is Cryo, Hydro, Pyro, or Electro. I've gone for a Cryo DPS in this set-up to allow the strongest reactions with the sub DPSes, but there really is a lot of room to play around with your party comp here. Kaeya or Rosaria are the best 4-star Cryo DPS candidates among a thinly populated field, but if you're lucky enough to have almost any 5-star Cryo character, this is definitely the place to sub them in. Ganyu is top of her field, but there really are a ridiculous number of really good 5-star Cryo DPS characters in this game.
Xingqiu (Hydro) and Xiangling (Pyro) are both excellent 4-star sub DPS characters, who can even take a promotion to main DPS if you so wish. I've placed them in the sub DPS roles here because they can react directly with the Cryo DPS main for two of the most devastating offensive reactions in the game — Freeze and Melt — though their own reaction combo, Vaporize, is pretty powerful in its own right too. Combined with Sayu's Anemo Swirl reaction, the field of combat with these four elements in play starts to look like a blender with big numbers falling out of it, as your team's enemies begin to fall with no more effort on your part than occasionally chucking in another elemental talent. It's very satisfying stuff to watch.
How to level up Sayu in Genshin Impact
Ascension Materials
To fully ascend Sayu, you’ll need:
| Ascension Level | Materials |
|---|---|
| 1 | 1 Vayuda Turquoise Sliver, 3 Crystal Marrows, 3 Whopperflower Nectars, and 20,000 Mora |
| 2 | 3 Vayuda Turquoise Fragments, 2 Marionette Cores, 10 Crystal Marrows, 15 Whopperflower Nectars, and 40,000 Mora |
| 3 | 6 Vayuda Turquoise Fragments, 4 Marionette Cores, 20 Crystal Marrows, 12 Shimmering Nectars, and 60,000 Mora |
| 4 | 3 Vayuda Turquoise Chunks, 8 Marionette Cores, 30 Crystal Marrows, 18 Shimmering Nectars, and 80,000 Mora |
| 5 | 6 Vayuda Turquoise Chunks, 12 Marionette Cores, 45 Crystal Marrows, 12 Energy Nectars, and 100,000 Mora |
| 6 | 6 Vayuda Turquoise Gemstones, 20 Marionette Cores, 60 Crystal Marrows, 24 Energy Nectars, and 120,000 Mora |
| Total | 1 Vayuda Turquoise Sliver, 9 Vayuda Turquoise Fragments, 9 Vayuda Turquoise Chunks, 6 Vayuda Turquoise Gemstones, 46 Marionette Cores, 168 Crystal Marrow, 18 Whopperflower Nectar, 30 Shimmering Nectar, 36 Energy Nectar, and 420,000 Mora |
Farming for Sayu will take plenty of Maguu Kenki fights to earn enough Marionette Cores. Additionally, you’ll have to fight Anemo bosses like Maguu Kenki, the Anemo Hypostasis, and Stormterror to get enough Vayuda Turquoise.
Talents
To fully level all three of Sayu’s talents, you’ll need 9 Teachings of Light, 63 Guides to Light, 114 Philosophies of Light, 18 Whopperflower Nectar, 66 Shimmering Nectar, 93 Energy Nectar, 18 Gilded Scales, and 3 Crowns of Insight. Per every one talent, that comes out to:
| Talent Level (+ required Ascension Level) | Materials |
|---|---|
| 2 (2) | 6 Whopperflower Nectars, 3 Teachings of Light, and 12,500 Mora |
| 3 (3) | 3 Shimmering Nectars, 2 Guides to Light, and 17,500 Mora |
| 4 (3) | 4 Shimmering Nectars, 4 Guides to Light, and 25,000 Mora |
| 5 (4) | 6 Shimmering Nectars, 6 Guides to Light, and 30,000 Mora |
| 6 (4) | 9 Shimmering Nectars, 9 Guides to Light, and 37,500 Mora |
| 7 (5) | 4 Energy Nectars, 4 Philosophies of Light, 1 Gilded Scale, and 120,000 Mora |
| 8 (5) | 6 Energy Nectars, 6 Philosophies of Light, 1 Gilded Scale, and 260,000 Mora |
| 9 (6) | 9 Energy Nectars, 12 Philosophies of Light, 2 Gilded Scales, and 450,000 Mora |
| 10 (6) | 12 Energy Nectars, 16 Philosophies of Light, 2 Gilded Scales, 1 Crown of Insight, and 700,000 Mora |
| Total | 6 Whopperflower Nectars, 22 Shimmering Nectars, 31 Energy Nectars, 3 Teachings of Light, 21 Guides to Light, 38 Philosophies of Light, 6 Gilded Scales, 1 Crown of Insight, and 1,652,500 Mora |
In addition to fighting the same Whopperflower type enemies you used to farm Sayu's ascension materials, you'll need to tackle the Violet Court domain in Inazuma on Wednesday/Saturday/Sunday for her books. Gilded Scales come from reliving the Azhdaha boss fight in the "Beneath the Dragon-Queller" trounce domain at Lvl 70+. Finally, Crowns of Insight can be obtained through limited-time events or by making offerings to the Frostbearing Tree and the Sacred Sakura.
Constellations
Even though Sayu is a 4-star character, her Constellations are surprisingly great. Constellation 1 Sayu is able to deal damage and healing at the same time, while Constellation 2 increases her Elemental Skill’s DMG. Constellation 6 is arguably her best, though, as it provides a massive ATK bonus that scales off of Elemental Mastery.
How to get Sayu in Genshin Impact
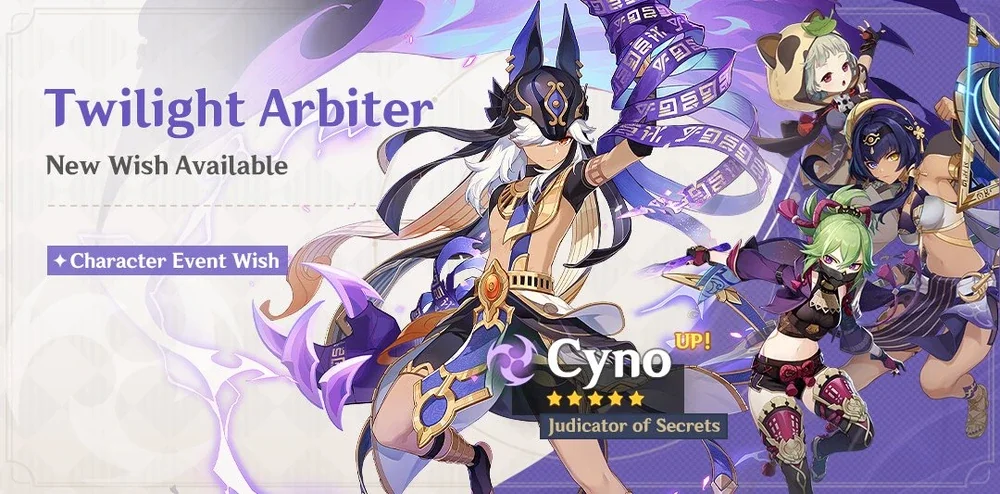
At 4-star rarity, it’s pretty easy to pull Sayu, as she can be pulled from any standard or event wish banner. She'll sometimes be featured with a boosted drop rate on a 5-star character's event wish banner, too.
If you’re saving up for Sayu, check out our guide on getting characters to learn the best ways to prep, or our Genshin Impact codes list to get some free Primogems!
That’s all the info we’ve got on Sayu! Why not check out our Genshin Impact best characters tier list to see which other characters are good to wish for?



![Image for Genshin Impact tier list: best characters for Version 3.2 [November 2022]](https://assets2.rockpapershotgun.com/genshin-character-tier-list.jpg/BROK/thumbnail/275x155/format/jpg/quality/80/genshin-character-tier-list.jpg)
