We built our own Xbox Series X PC
How to build your own console PC
In my Xbox Series X review last week, I said Microsoft's new diddy 4K powerhouse console was probably the best and cheapest way of bringing a PC-like gaming experience into your living room as a second machine. While it doesn't provide all the luxuries we're used to on PC, there's no denying that it's an impressive bit of kit for its size and price.
But then I got thinking. While the Xbox Series X is certainly a lot more convenient than the full-sized tower PC plonked next to my TV, was it possible to build a similarly tiddly PC that could rival the Series X's 4K gaming chops? Readers, it is. It will cost you considerably more than Microsoft's £450 / $500 console box, but throwing price to the wind for the moment, I hereby present: how to build an Xbox PC.
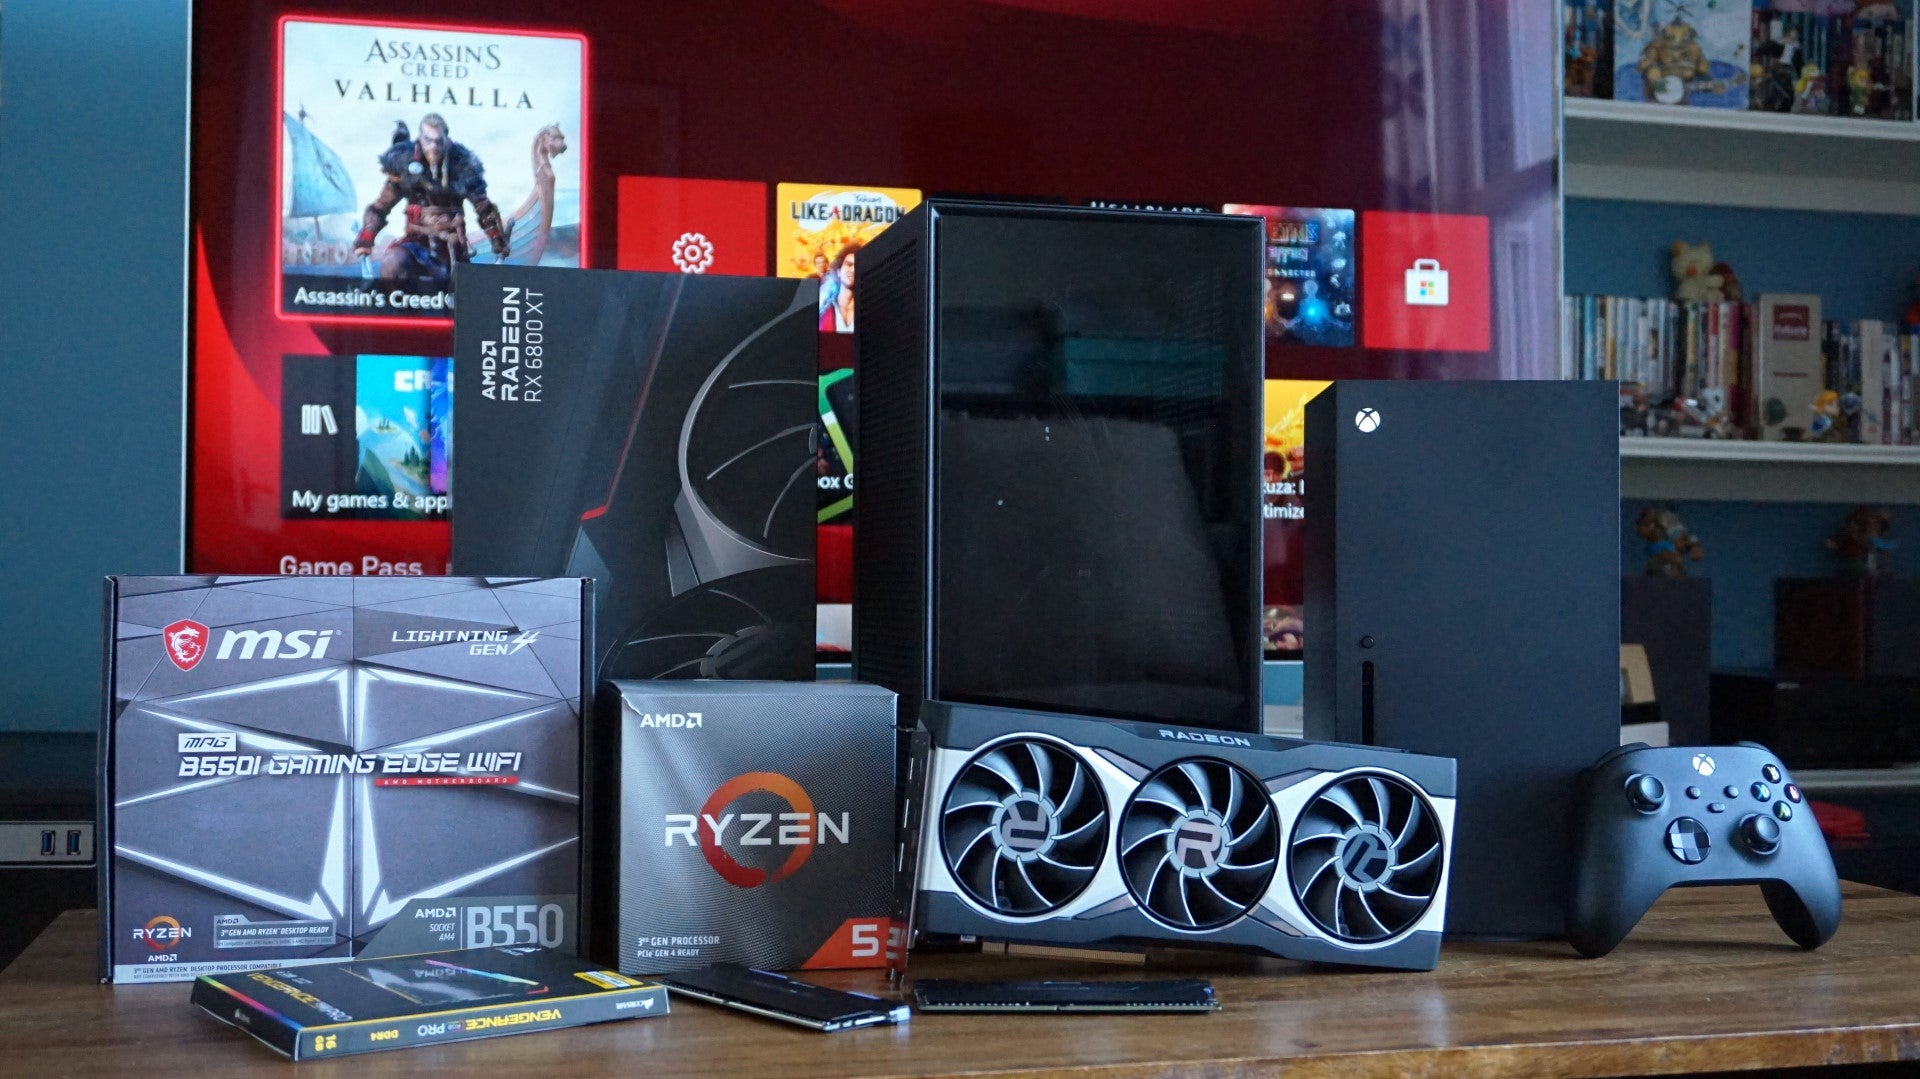
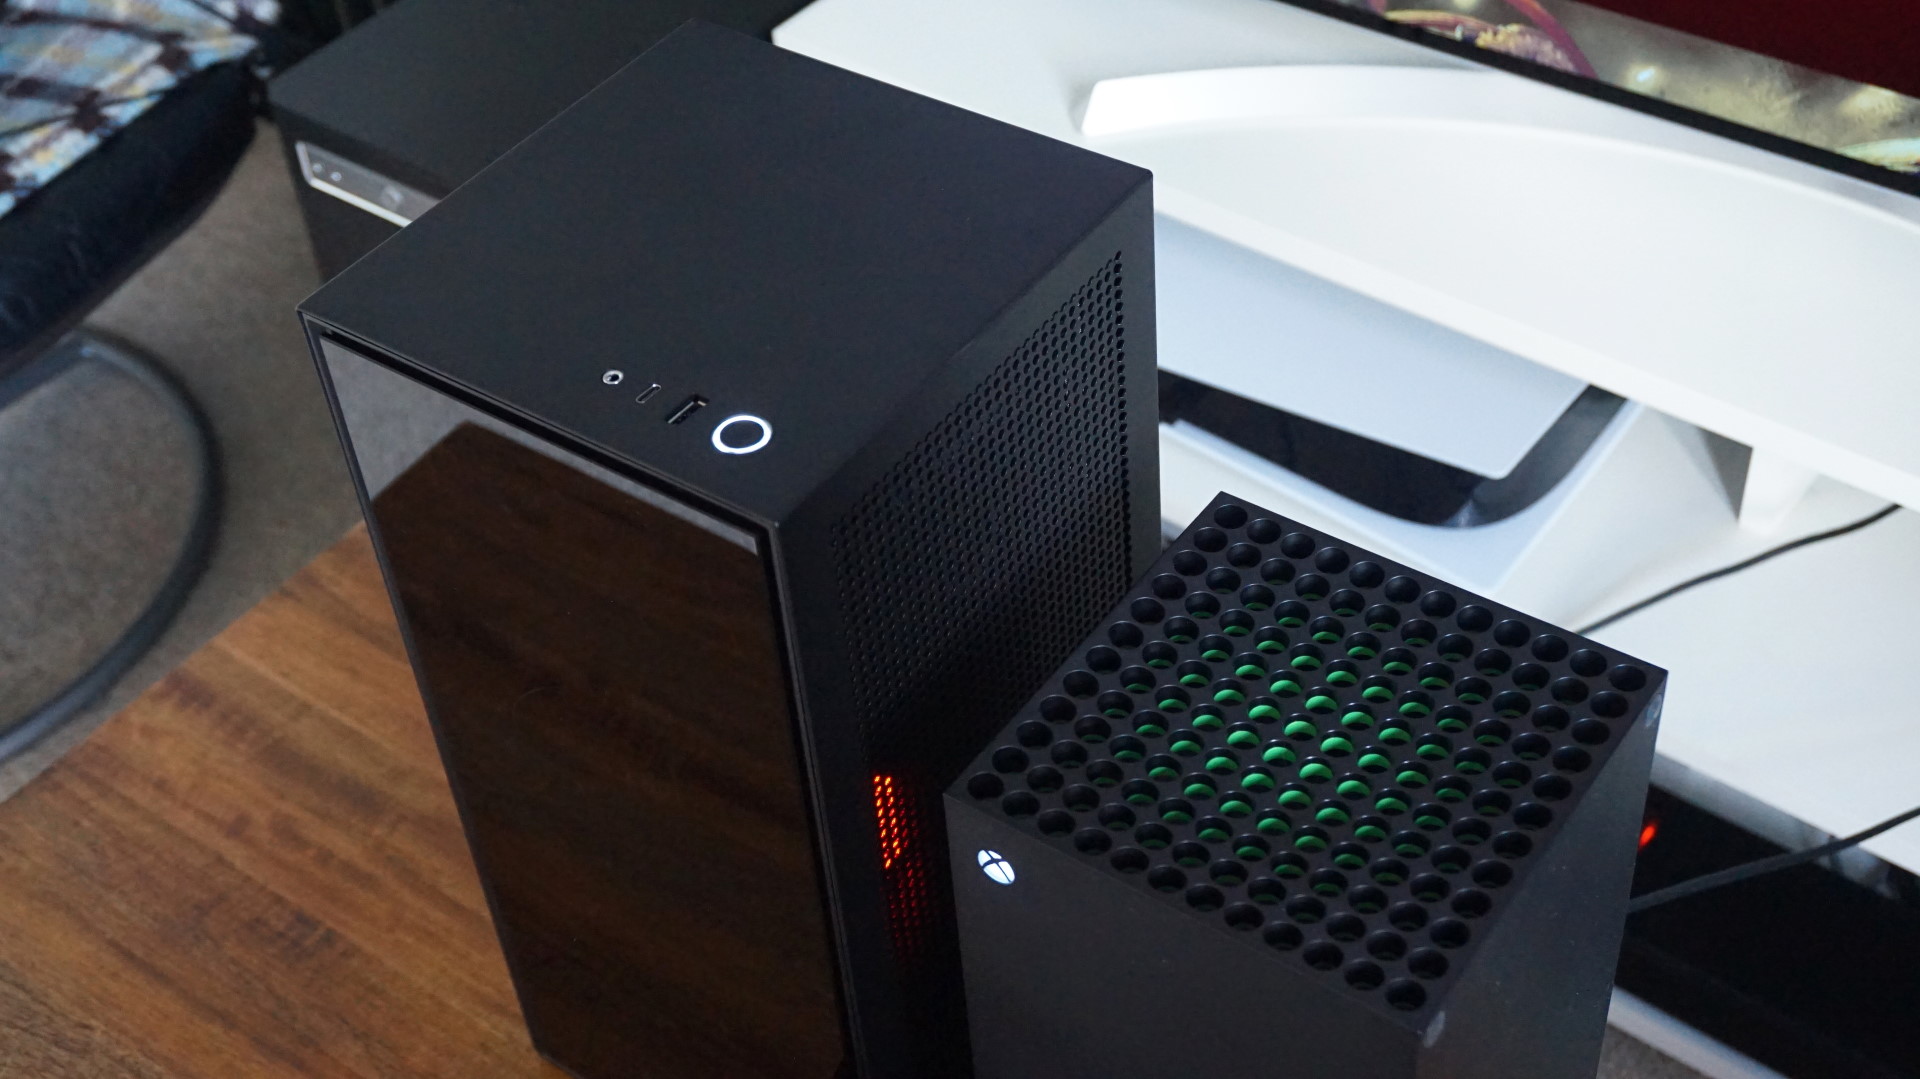
At its heart, this PC is essentially a mini-ITX build inside the most Xbox-like case I could find. Initially, I was going to try and put together a list of components that cost the same amount of money as the Series X, but as you may have already surmised from the header image of this piece, I quickly realised that was going to be pretty much impossible.
After all, most mini-ITX motherboards cost at least £100 these days, if not slightly more, as do most 1TB NVMe SSDs - if not considerably more if you're after one with PCIe 4.0 support. That's half your console cost gone already, and then there's still the matter of a 4K capable graphics card, a decent CPU, RAM, a power supply and a case to think about, too. In short, matching the Series X on price just isn't possible. Matching it on power, however, that we can do.
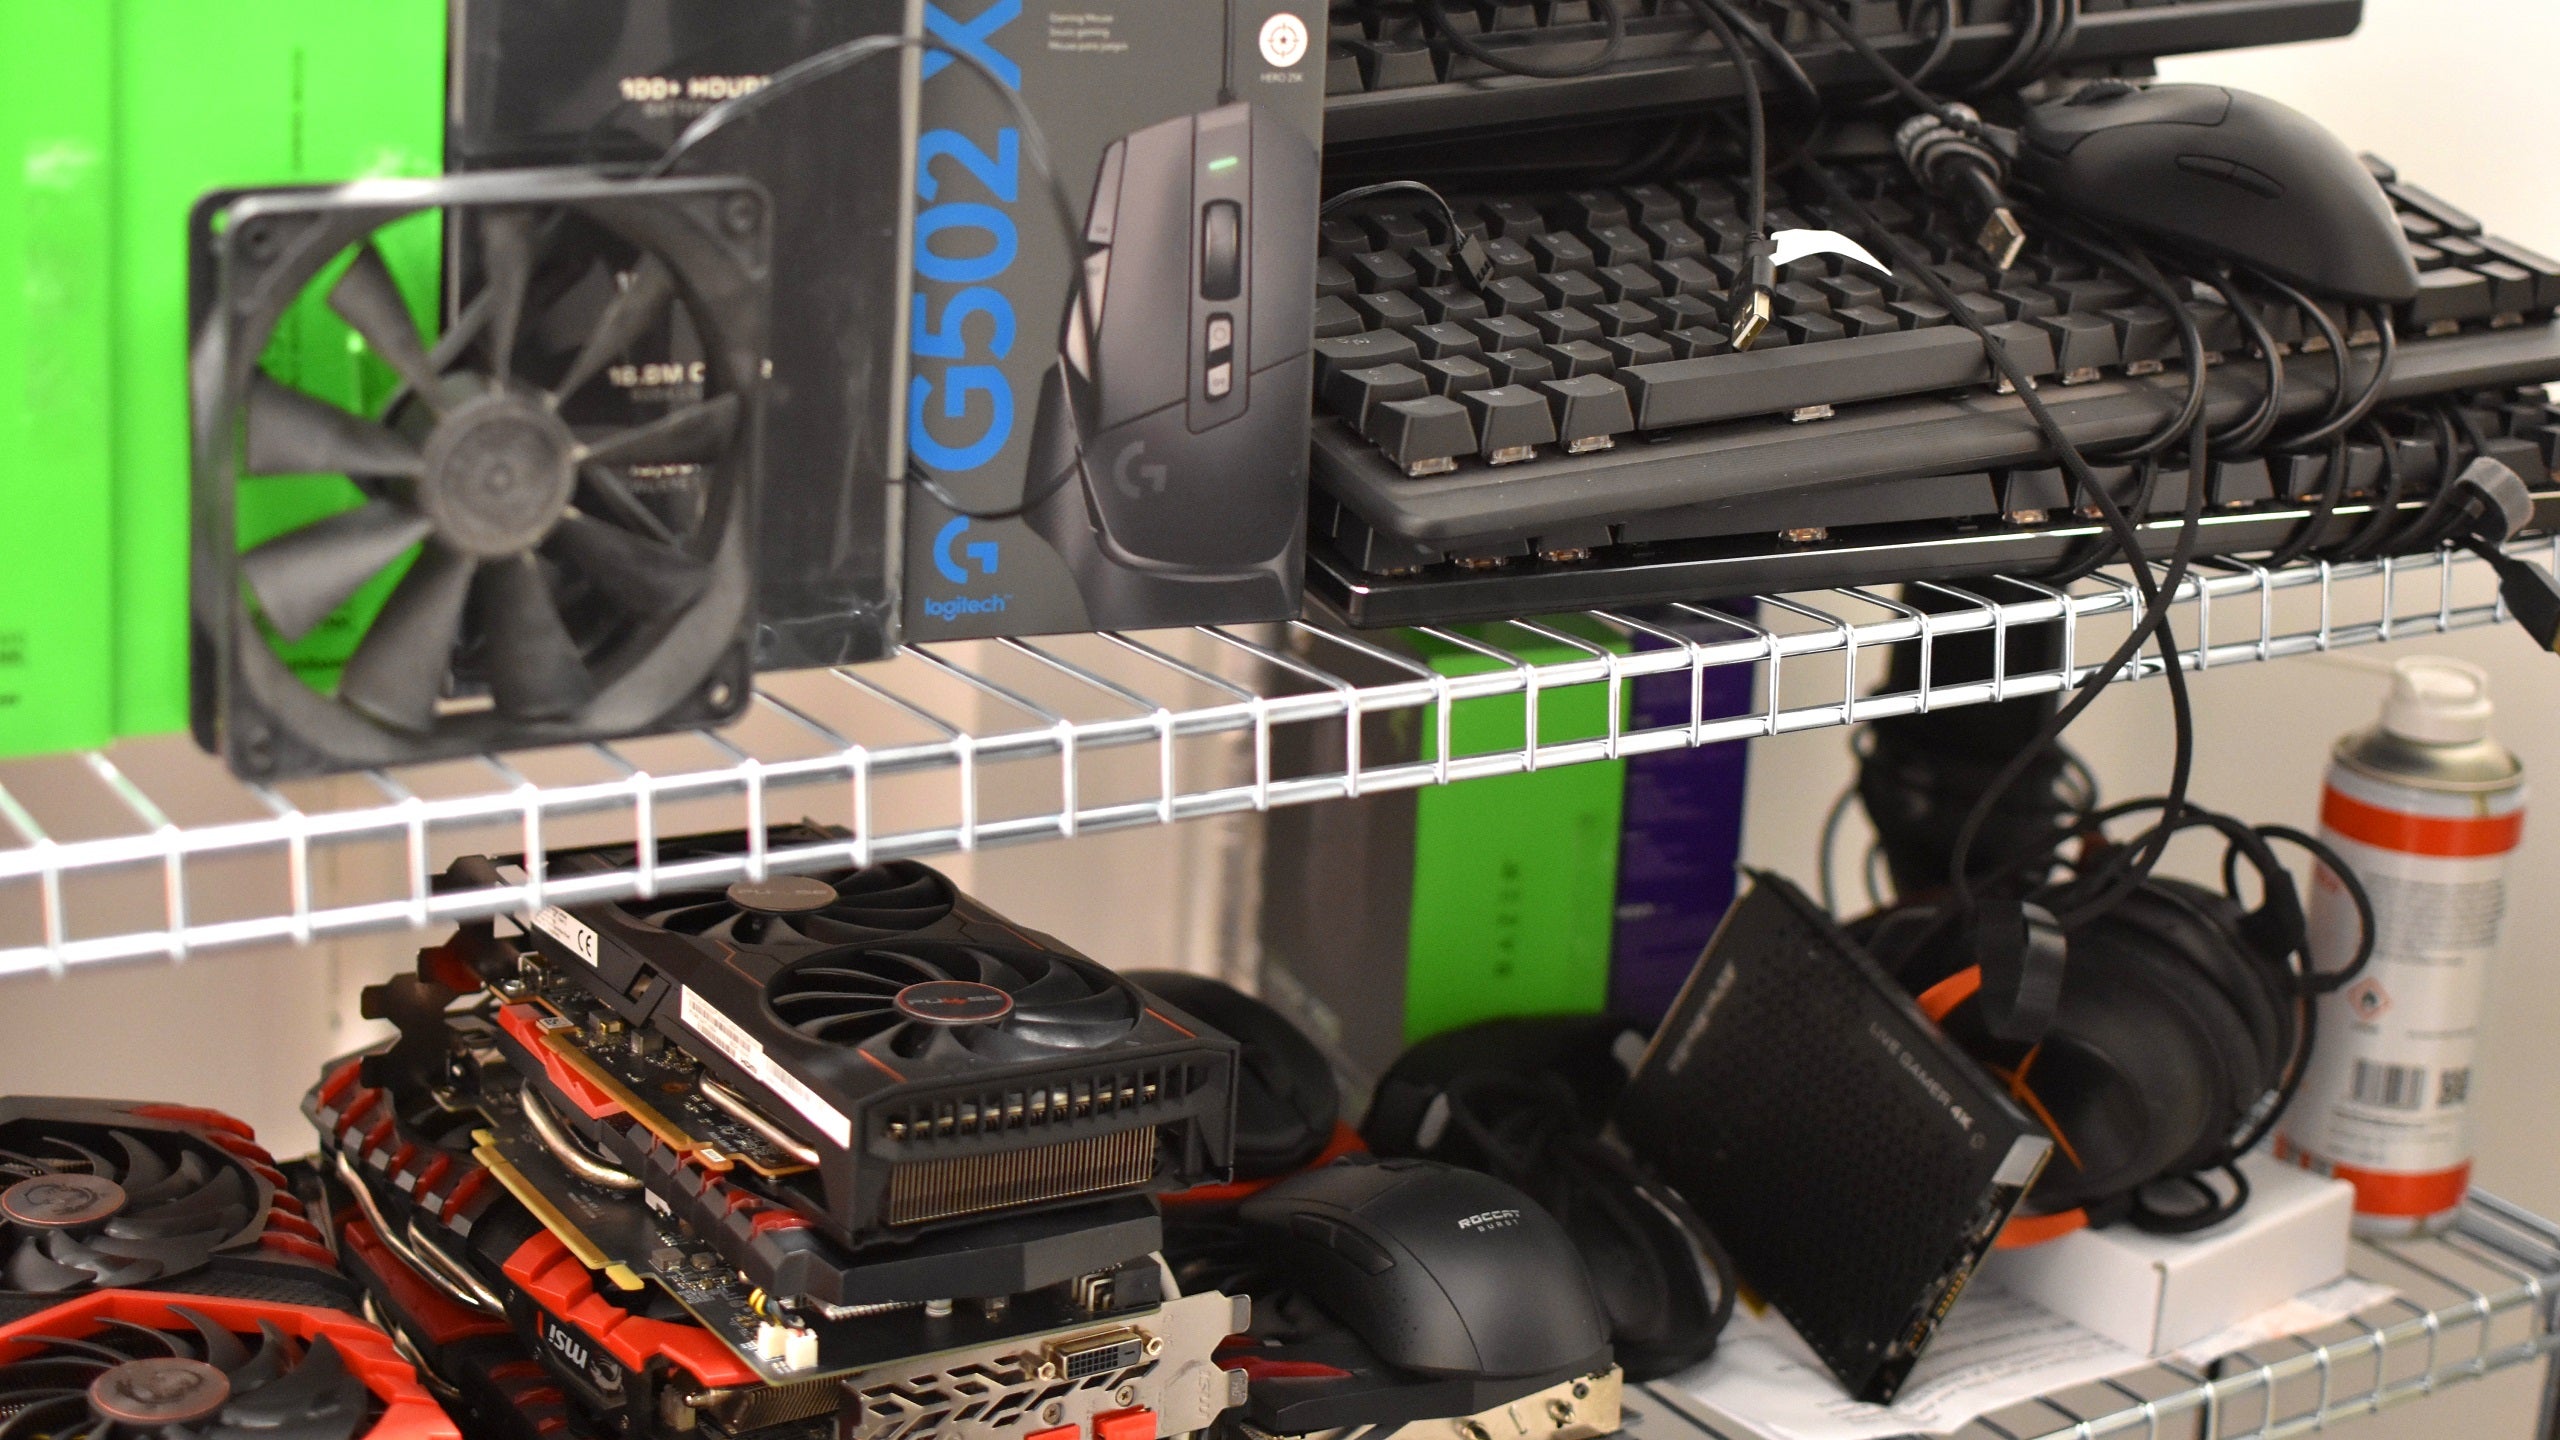
A big thank you to the kind folks at Overclockers UK and MSI for providing me with the NZXT H1 case and MPG B550I Gaming Edge Wi-Fi motherboard for this feature. The rest was pilfered from other test systems I have in my home office.
I've tried to match the Series X's spec as closely as possible, but even I'm willing to admit that it's far from perfect and there are plenty of substitutions I would make if I had more components to hand. For example, while the custom AMD Zen 2 CPU inside the Xbox Series X doesn't have a completely identical desktop counterpart, its 8 cores and 3.8GHz clock speed probably put it closer to AMD's Ryzen 7 3700X than the Ryzen 5 3600X. Still, the 3600X is the only Zen 2 I've still got kicking around.
Similarly, I probably would have chosen AMD's cheaper Radeon RX 6800 instead of the more expensive Radeon RX 6800 XT, but I don't currently have one in for testing. I did try putting an RTX 3070 in there, but it was just too gosh-darn large to fit inside the case. Go figure.

Likewise, my choice of storage also leaves a lot to be desired. The closest equivalent to the Series X's 1TB PCIe 4.0 drive would probably be something like Samsung's 980 Pro, but my review sample from last month has long since been returned to the folks at Samsung. Instead, I settled for my trusty (if immensely slow) primary WD Green SATA drive for Windows, and my 1TB WD Black 3D NVMe PCIe 3.0 SSD because that's the one with all my benchmark games on it.
There are also considerably cheaper mini-ITX cases available if you wanted to try building your own tiddly Xbox rival, but as I was going for the most Series X-like design I could find, there was really only one choice: NZXT's H1. Not only does it stand upright in a very Series X-like fashion, but the hundreds of holes on its sides and rear also mimic the Xbox's top concave vent. Yes, it costs a whopping £300, but it does come with its own built-in power supply and all-in-one cooler, making things nice and easy from a building point of view.
There are also cheaper mini-ITX boards available, too, especially if you opt for a B450 AM4 chipset instead of a newer B550 board. However, from a future-proofing perspective, B550 is definitely a more sensible option overall. While I haven't used a new Ryzen 5000 CPU in this particular build (the Series X is, after all, based on AMD's Zen 2 CPU architecture from their Ryzen 3000 CPUs, not their newer Zen 3 architecture for their Ryzen 5000 series), the Zen 3-compatible B550 chipset gives you a lot more flexibility for future upgrades, and I also wanted a board that had built-in Wi-Fi 6 support, too, so I didn't have to run a LAN cable to it, In this respect, MSI's MPG B550I Gaming Edge Wi-Fi was a great fit.

How to build your own Xbox Series X PC:
But enough component chat. Here's how I built it. In order to get the heart of NZXT's H1 case, I first had to remove the front and back panels by lifting them upwards and popping them off their little attachment nodules. I was then able to slide off the top and two remaining sides, all of which was very helpfully signposted by a handful of purple stickers.
Next, I had to open up the H1's cooler compartment. Fortunately, all I had to do was undo two little screws and then the bulk of the cooler flipped out toward me thanks to a handy hinge mechanism on the bottom of it. Once I'd removed its accessory box and untangled all the cables, it was time to slot in and attach my motherboard.

I popped in the CPU and RAM beforehand (I didn't have to worry about changing the cooler mount as the H1 already has one), and slid the motherboard in through the side so it rested on the mounting points. Then it was just a case of screwing it down and connecting up the power cables. Fortunately, NZXT had already routed most of the cables to sensible positions on either side of the H1, so it took hardly any time at all to slot them all into place.
Of course, the eagle-eyed among you may have noticed that the RAM in the pictures isn't the same RAM listed above. That's because I was actually planning to use my usual pair of Corsair Vengeance RGB Pro sticks when I started building my Xbox PC, but when I came to closing the case back up again I found they were too tall(!) to shut it properly. Luckily, it wasn't too much of a hassle to swap them out for the shorter TeamGroup TUF sticks, as they were still easily accessible even once I'd attached the cooler to the CPU.

Next, I slotted my SATA SSD into one of the two bays at the top of the case next to the power supply, and I secured my WD NVMe drive to the M.2 slot on the back of the motherboard. Technically, there's a PCIe Gen 4.0 M.2 slot underneath the MSI MPG B550I Gaming Edge Wi-Fi's heatsink plate for connecting up a proper PCIe 4.0 NVMe drive, but for ease of access I decided to stick with the PCIe 3.0 one on the back.
Finally, it was graphics card time. Obviously, fitting a full-sized graphics card in its usual horizontal orientation is nigh-on impossible inside such a small case, but another benefit of the H1 is that it comes with its own built-in PCIe riser card so you can mount it vertically on the other side of the motherboard. One side connects into the motherboard's PCIe x16 slot, and the other wraps round the back plate so you can connect it up behind.

As I said earlier, I did try and fit an Asus GeForce TUF Gaming RTX 3070 OC in here first, but the H1's clearance limitations of 305x128mm (or 265x145mm, according to the specs sheet) prevented me from doing so. Not only was it too tall, but its 2.7 slot size was also too thick. I was worried AMD's rather phat RX 6800 XT wouldn't fit either after my attempts with the RTX 3070, but thankfully it did thanks to its shorter card length and 2.5 slot size. It's not the ideal partner for the H1's 650W power supply admittedly - AMD recommend you pair with a 750W one - but I would have put a regular RX 6800 in there if I had one available.
After that, all that was left was fitting the cooler and closing it all back up again. The H1's all-in-one cooler has an Intel mount by default, so I had to pull that off and attach the bundled-in AMD one, but that all took less than a couple of minutes. Once I'd hooked the mounts in place and screwed them onto the motherboard, it was time to screw the main fan back into place and seal it up - after making sure there weren't any errant wires in the way, of course. Then it was just a matter of sliding the sides and top back on, followed by the front and back panels.


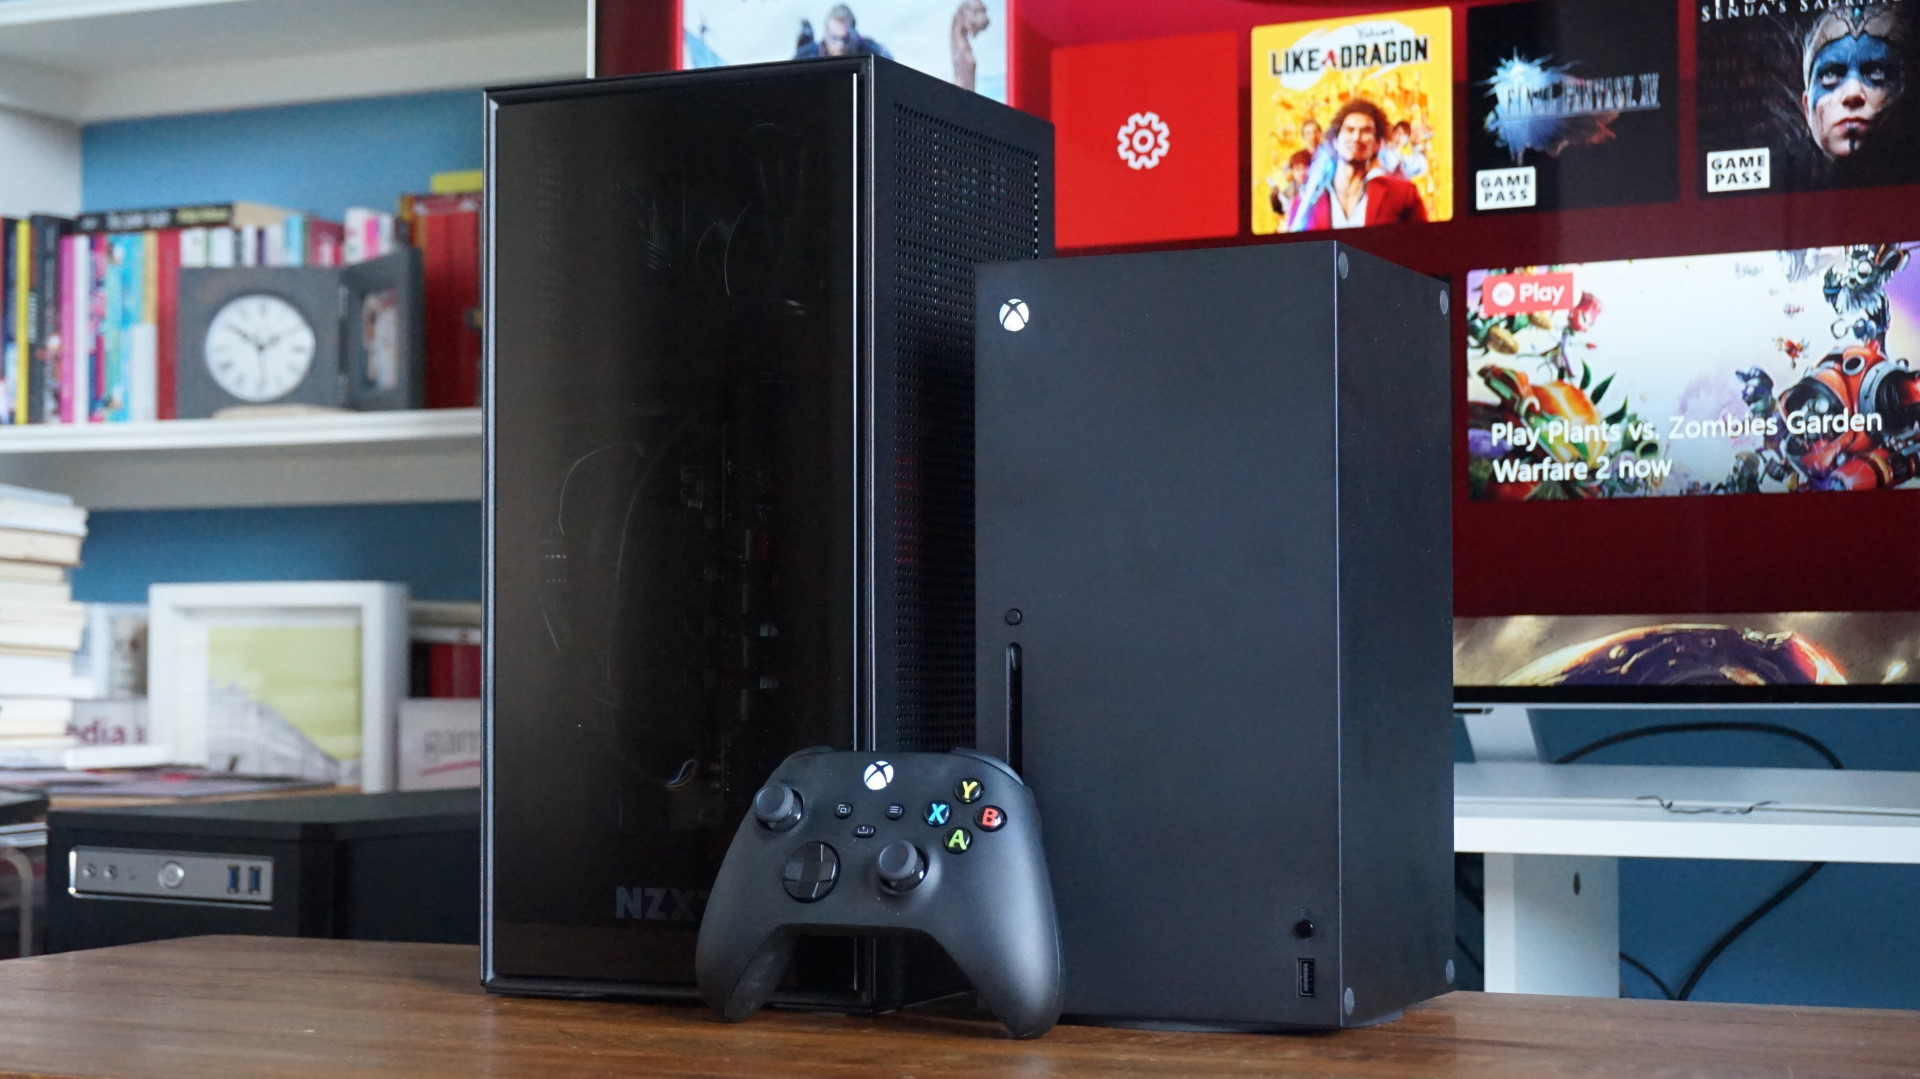
Then, once I'd turned it on its side to attach my display cable, Wi-Fi antennas and the power plug, we were ready to go. Voila! One Xbox Series X PC at your service.
As the pictures make clear, the NZXT H1 is still quite a lot taller than the Series X, so Microsoft's console still wins out on overall size. Similarly, the hundreds of holes on the side and back of the H1 also make my PC build disproportionately noisy compared to the whisper quiet Series X. If anything, my Xbox PC is more akin to the Xbox One X of yore when it comes to noise levels, if not slightly louder. This is another downside of opting to build your own PC as opposed to simply going down the console route, but in terms of power, it definitely puts in a pretty good performance.
As our friends at Digital Foundry have since discovered, Assassin's Creed Valhalla isn't actually running at native 4K on the Series X (not that my feeble eyes could tell on a big telly), but with an RX 6800 XT under its belt, my Xbox PC was able to hit a smooth 60fps on Very High at proper 4K without trouble. I was also able to match Watch Dogs Legion's locked 4K 30fps frame rate with ray tracing switched on at High settings, and Yakuza: Like A Dragon ran beautifully at both 1440p and 4K, hitting a smooth 60fps+ on max settings at both resolutions - beating the 1440p 60fps and 4K 30fps options you get on the Series X.
Yes, you are paying considerably more to get the same kind of performance here, but as I said right at the start of this feature, matching the Xbox Series X on price was never the true goal here. Instead, I merely wanted to see whether it was possible to match it on power in a (roughly) similar form factor, and in that respect I think I made a pretty good fist of it. It was also just a fun thing to try and build a mini-ITX PC for a change, as that's not something I've really covered at RPS before.
So there you have it. Our Xbox Series X PC. A big thank you again to Overclockers UK and MSI for their help with providing some of the components used in this build. At £300, NZXT's H1 case is expensive, but I found it very easy to build in (not a single cut finger in sight) and I cannot understate how great it was to have a built-in 650W SFX power supply and an all-in-one cooler. That certainly made my life a heck of a lot easier putting it together.
MSI's MPG B550I Gaming Edge Wi-Fi motherboard also had everything I needed to get the PC up and running. It's a solid performer, has the same number of M.2 slots as most full-sized motherboards, and its extensive range of USB ports (including one USB-C) means there's plenty of options for connecting up all the peripherals I could ever want or need. Alas, Overclockers UK don't stock that particular model, but Ebuyer have it for £180 (which can be reduced to £153 after MSI's Black Friday cashback promotion, plus you get a free copy of Assassin's Creed Valhalla with it, too, making it even better value.
Would you have done it differently? What sort of components would you have chosen if you were going to build a mini-ITX PC for your living room? Would you have chosen a different case or gone with a different CPU and GPU combo? Maybe you've got your own mini-ITX stories to share. If you do, please do share them in the comments below.
And if you're wondering about the actual total price of what my system would cost, here are some numbers for you. While it's not possible to actually buy all the components listed in my build (either due to age or being out of stock), here's a rough estimate of how much money you'd have to set aside to build one yourself:
Case: NZXT H1 - £300
CPU: AMD Ryzen 5 3600X - £215
RAM: 16GB TeamGroup Vulcan TUF Gaming Alliance 3200MHz - £60
GPU: AMD Radeon RX 6800 XT - N/A, but around £600
SSD: WD Green (250GB), WD Black 3D NVMe (1TB) - £30 + £105 (sort of, if you swap it for the newer WD Black SN750)
Motherboard: MSI MPG B550I Gaming Edge Wi-Fi - £180That gives you a total of £1490, a whole £1040 more than the Xbox Series X.